A successful residential design project is a triumph of vision and execution, often representing years of hard work. But the final product, a beautifully designed and styled home, is just the beginning. In today's visual world, exceptional photography is crucial for showcasing your work, attracting higher-budget clients, and catching the eye of editors. Your photos are your primary portfolio; they are how you communicate your creativity and the value of your work.
A great photoshoot is a blend of artistry and strategy. It combines your design vision with an understanding of editorial preferences and technical precision, preparation and collaboration.
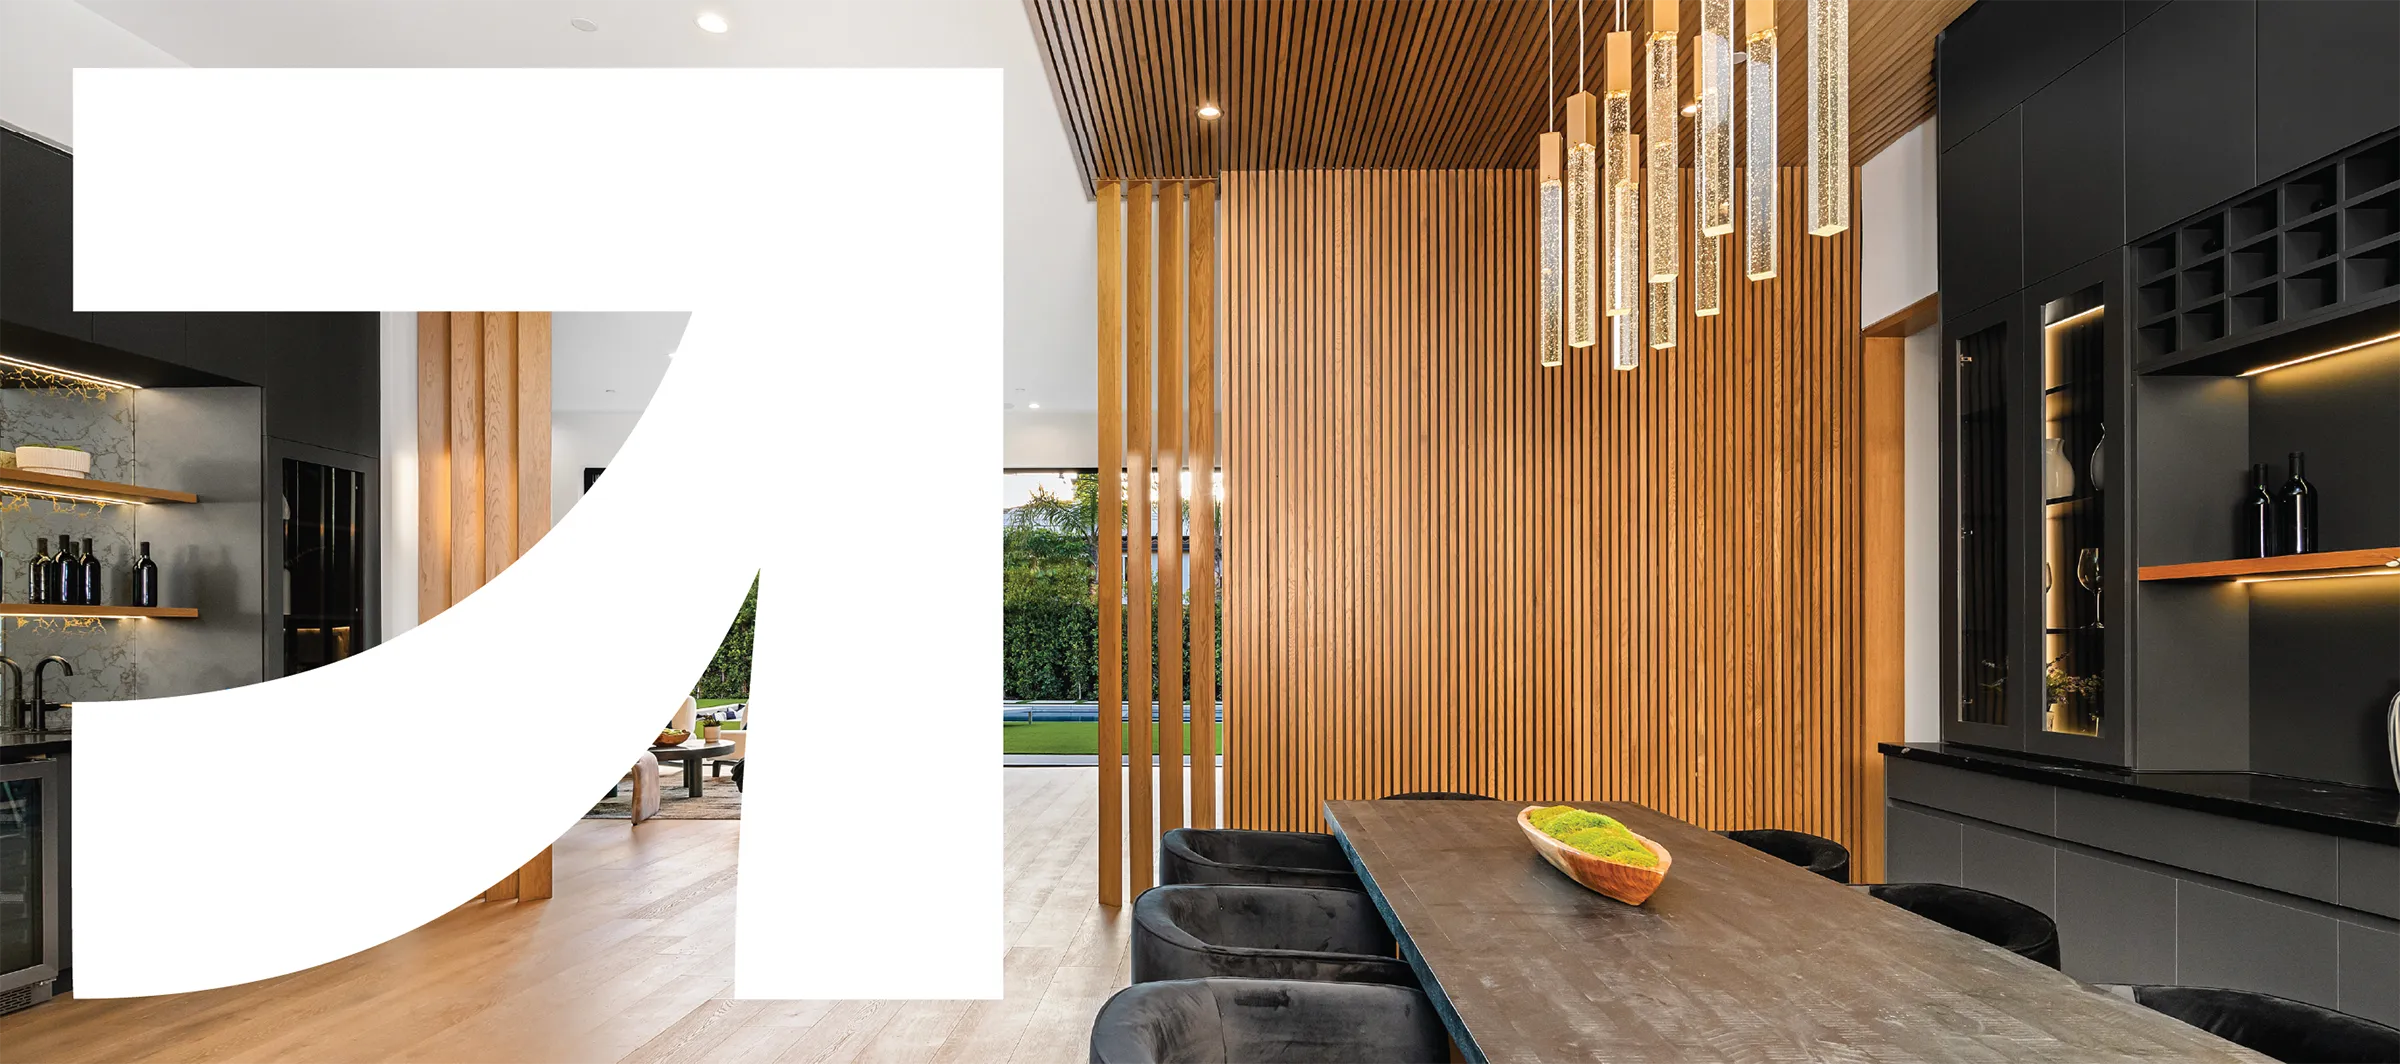
Before we dive into photography best practices, let's talk about the magic behind the lens: styling and staging. This is non-negotiable for public relations and landing those coveted editorial features. Lifestyle and design publications aren't just looking for a well-designed space; they want a captivating visual story. A meticulously styled home adds layers of personality and purpose, breathing life into your design.
Think of it this way: a few carefully arranged books, a cozy throw, or a vase of fresh flowers and the perfect time of day that captures that magic hour aesthetic, can transform a static room into a dynamic, lived-in scene. This is what grabs an editor's attention. It shows them the project is not only stunning but also publication-ready. As a bonus, this level of curated presentation helps potential clients envision themselves in a space you've created, making your work feel both aspirational and achievable. It's a win-win investment that pays off in both new business and earned media relations.

Strong design photography doesn’t happen by chance—it’s the result of thoughtful collaboration and planning from the very start. Begin by discussing photography with your client early in the process. Set expectations for how the completed project will be documented and include clear language in your contract about photography rights and promotional use. This ensures you can confidently showcase your work through PR, marketing and social media, once it’s complete.
When it’s time to photograph the space, surround yourself with the right creative partners. Choose a photographer whose aesthetic and approach complement your own so your vision translates seamlessly through the lens. Equally valuable is the perspective of a stylist, who brings a discerning, objective eye after months of your close involvement. They understand how light, proportion, and detail read on camera, refining every vignette to ensure the final images feel as elevated as the design itself.
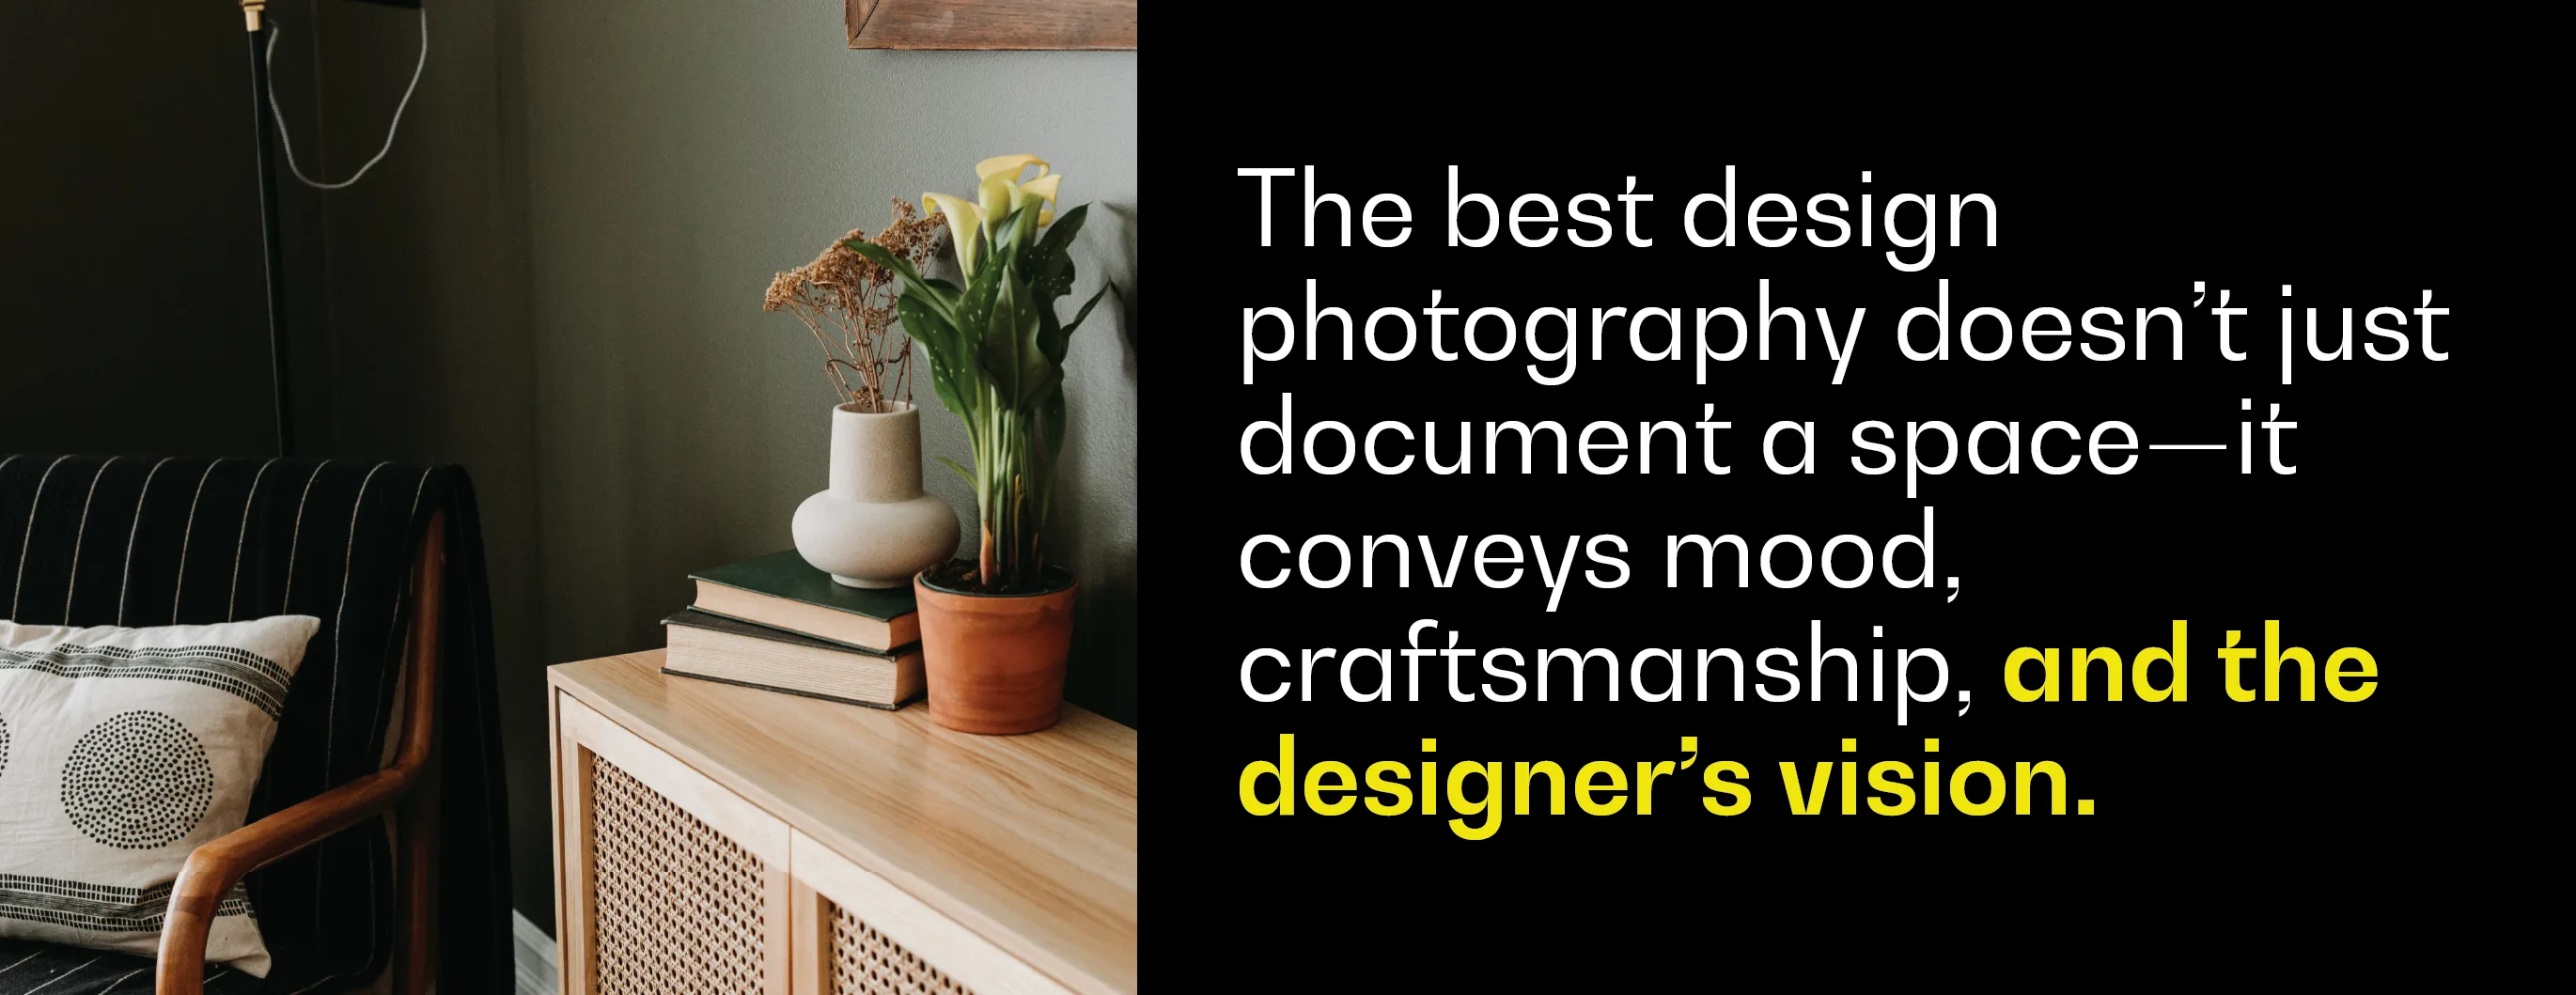
Creating a powerful visual story requires both intention and precision. The best design photography doesn’t just document a space—it conveys mood, craftsmanship, and the designer’s vision. To get there, careful preparation and attention to detail are key. Below are best practices to keep in mind before diving into your next residential shoot.
Every room tells a different part of the design story. Photograph all rooms of the home, approaching each with a specific plan will ensure you capture its unique character.
This is the first impression, so schedule this shot for a time that captures a welcoming, natural glow. If the entryway faces east, shoot in the early to mid-morning. If it faces west, late afternoon is best. Capture a wide shot that shows the perspective of someone entering the home for the first time. A simple vase with fresh flowers can add a touch of warmth and life.
Mid-morning to early afternoon is often the ideal time to shoot a kitchen when daylight is bright but not at its peak. Combine natural light with balanced fill lighting to minimize harsh shadows. Be meticulous about cleaning and polishing every surface, as reflections on glossy backsplashes and stainless steel are common. Avoid over-styling with too many props; a few carefully chosen items are all you need.
Bedrooms are best photographed in the soft, diffused light of the early morning (for east-facing windows) or during the golden hour just before sunset (for west-facing windows). Use sheer curtains to soften direct sunlight if needed. Focus on details that evoke a sense of serenity, such as crisp linens, fluffed pillows, and soft throws. Use wide shots to frame unique features like a built-in bookshelf or a stunning window treatment.
Always, always, close the toilet lid. It's a small detail that makes a huge difference. Schedule this shot for late morning when indirect daylight is strongest. Relying solely on overhead lighting can cast unflattering shadows, so consider using professional lighting to create an even, soft glow. Pay close attention to aligning tiles, vanity edges, and mirrors to create a clean, symmetrical composition.
If you have an outdoor space to shoot, aim for the hour before sunset. This "golden hour" light is warm and flattering, perfect for capturing the relaxed feel of a patio or garden.
You've captured the perfect high resolution photos—now it's time to leverage them to grow your business. High-quality photography is an invaluable asset that can be used to build your brand and attract new opportunities.
Your website is your digital storefront, and a professional photography portfolio is essential for making a powerful first impression. Use your new, high-quality photos to create a stunning portfolio that not only showcases your finished work but also tells the unique story of each project. Feature the projects you are most proud of on your home or splash page—this is your opportunity to highlight the work you want to attract more of in the future. Within each project page, arrange the images in a logical flow, guiding visitors through each room and highlighting your signature style. A cohesive visual identity across your entire site will strengthen your brand message, build credibility with prospective clients, and ultimately position you as an expert in your field.
Great interior photography is one of the most versatile marketing assets a designer can have, especially on social media. High-quality images allow your work to shine across platforms, from the curated storytelling of Instagram carousels to the quick, scroll-stopping impact of Pinterest and LinkedIn posts. Consistent, professional photography helps establish a recognizable visual identity, conveying your brand’s aesthetic and design philosophy at a glance.
To maximize your impact, prioritize bright, airy images and use a consistent style across all platforms. For social media, consider shooting in portrait orientation (a 4x5 crop is ideal for Instagram) and using wide-angle shots that show the entire room to capture more of the space.
Beyond showcasing finished projects, these images can be repurposed for behind-the-scenes reels, design tips, or moodboard-style posts that keep your audience engaged between project launches. When used strategically, strong photography not only attracts new followers but also builds credibility with prospective clients who are inspired by what they see.
While professional photography is always the gold standard, you can take quality photos with your phone for behind-the-scenes content by focusing on a few key DIY principles. First, a clean lens is a must—use a microfiber cloth to wipe away any smudges or dust that can obscure your image. When setting up your shot, turn off all artificial lights to rely on natural light, and use your phone’s grid lines to ensure your horizons are straight and your composition is balanced according to the rule of thirds. For a more expansive feel, hold your phone slightly above your belly button when shooting. To get the best exposure, tap the brightest spot on your screen, like a window, which will expose for the highlights and prevent them from being overexposed. While the resulting image may look dark, you can brighten it later during editing without losing crucial detail. Finally, always take the time to edit your photos. Use a mobile app like VSCO, which is great for presets, or Snapseed, which offers professional-level controls, to sharpen and enhance your images, as the human eye is naturally drawn to crisp, well-defined details.
High-resolution project images are a cornerstone of successful award submissions, often making the difference between a nomination and a win. They allow judges to fully appreciate the detail, craftsmanship, and design intent behind a project—elements that can’t be conveyed through words alone (even though the project narrative is a huge component of our jobs as the public relations agency). Professionally captured imagery highlights spatial flow, material quality, and the emotional impact of a space, helping the narrative come alive visually. Beyond documentation, strong visuals position a firm as credible and aspirational, reinforcing a firm’s design excellence and media readiness.
Captivating project photography is an invaluable asset for PR professionals to secure earned editorial features and elevate an interior design firm’s work. High-quality photography is the key to getting your projects published in magazines and online publications, as editors are constantly looking for professionally shot, well-designed and well-styled homes. Great photography serves as a powerful visual hook, immediately capturing the attention of journalists and editors (or turning them away) in a crowded media landscape. By providing striking visuals that showcase a project's scale, craftsmanship, or innovative design, PR teams can transform a standard pitch into a compelling narrative that properly showcases the firm's work and expertise in design. These photographs not only illustrate the project but also convey the brand's aesthetic and quality, making it easier for a publication to envision how the story will translate on their pages and how it will resonate with their readers. Well-executed professional photography acts as a silent but persuasive advocate, significantly increasing the likelihood of a pitch landing a coveted editorial feature.
Professional photography is more than just pretty pictures—it's an investment in your brand. By capturing your work with care and strategically leveraging those images, you can attract new clients, gain industry recognition, and continue to build a successful design business.
